Step-by-Step PAT Testing Process
Electrical appliances are an essential part of everyday life—whether in offices, factories, schools, or homes. But with regular use, wear and tear can cause them to become unsafe, leading to risks such as electric shocks, short circuits, or even fires. This is where Portable Appliance Testing (PAT) comes in.
PAT testing is a systematic process of examining electrical appliances to ensure they are safe for continued use. It combines visual inspections with a series of electrical tests carried out using specialized equipment. Businesses, landlords, and even homeowners benefit from PAT testing, as it ensures safety, compliance with regulations, and peace of mind.
In this blog, we’ll walk you through the step-by-step PAT testing process, explaining each stage in detail. To Know More Click Here
Step 1: Initial Visual Inspection
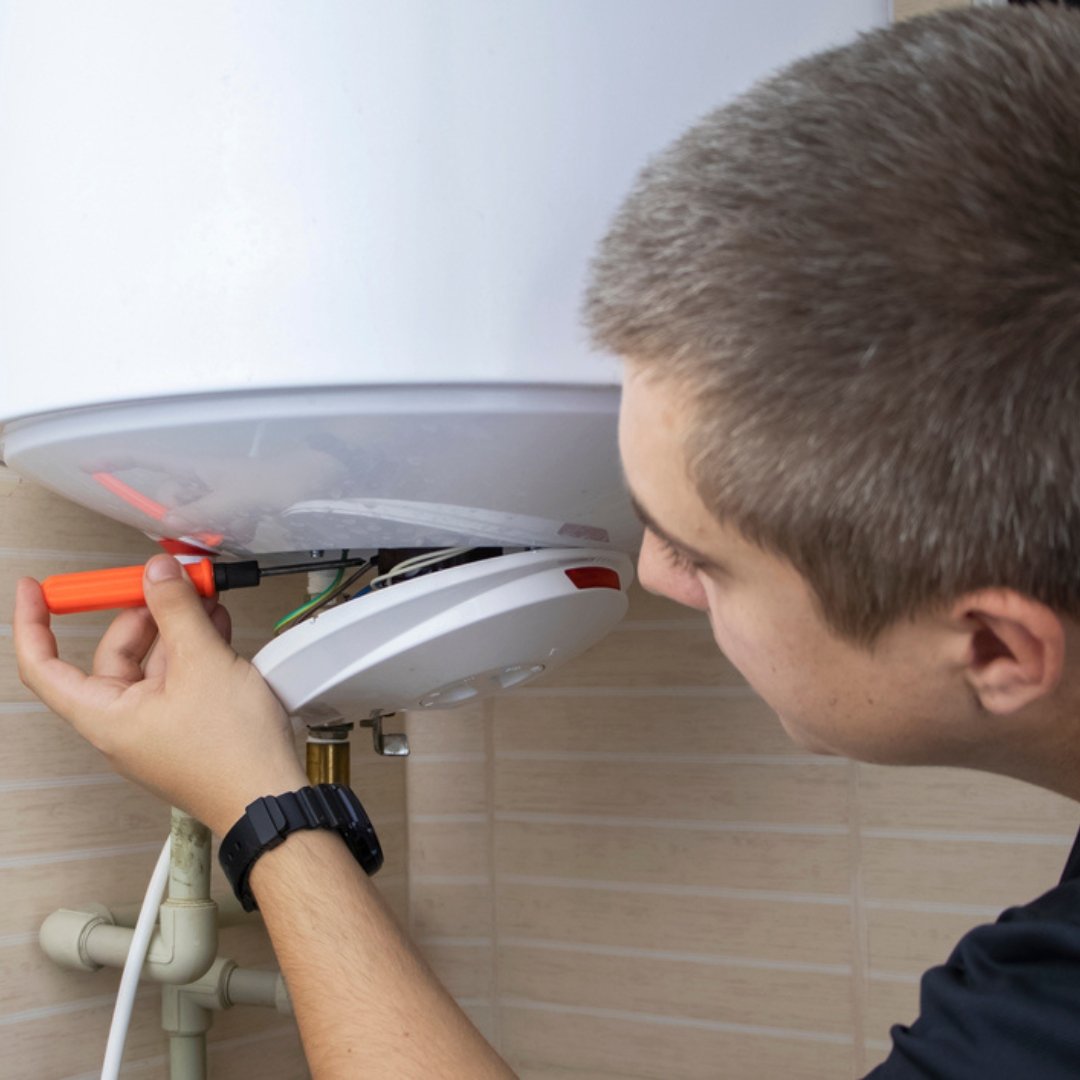
The first and most crucial step is a visual check. Surprisingly, many electrical faults can be spotted without the need for advanced equipment. During this stage, the tester examines the appliance for visible signs of damage or wear.
Key checks include:
- Plug condition – Is it cracked, scorched, or loose?
- Cable and wires – Are they frayed, cut, or twisted?
- Fuses – Is the fuse correctly rated and securely fitted?
- Casing and housing – Any burn marks, loose covers, or broken parts?
- Labels and instructions – Are safety and usage labels intact?
This step is vital because a damaged cable or exposed wire can pose immediate risks, regardless of how well the appliance performs in electrical tests.
Step 2: Equipment Classification
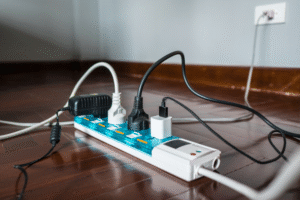
Before testing, appliances must be classified, as different equipment requires different tests.
- Class I Appliances – These have an earth connection (e.g., kettles, toasters, desktop computers). They require both earth continuity and insulation resistance tests.
- Class II Appliances – These are double-insulated and do not rely on an earth connection (e.g., hairdryers, drills, lamps). They require insulation testing only.
- Class III Appliances – These operate at very low voltage (e.g., phone chargers, laptops with power adaptors). They generally require visual checks and minimal testing.
Correct classification ensures that the right safety checks are performed without unnecessary testing. To Know More Click Here
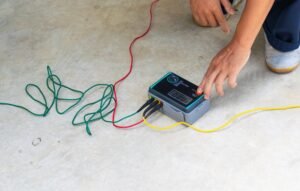
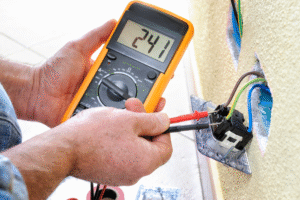
Step 3: Earth Continuity Test (For Class I Equipment)
This test confirms whether the earth connection in the appliance is effective. The PAT tester passes a small current through the earth wire to check resistance.
-
A low resistance reading means the earth connection is safe.
-
A high resistance reading indicates a weak or broken earth path, making the appliance unsafe.
This step ensures that in case of a fault, the excess current can safely flow into the ground rather than shocking the user.
Step 4: Insulation Resistance Test
Insulation around wires and internal components prevents electricity from leaking into the casing or surrounding parts. This test checks whether the insulation is intact.
The PAT tester applies a high voltage between the live and neutral parts of the appliance and its casing.
- If the resistance is high, the insulation is strong and safe.
- If the resistance is low, current may leak, posing a risk of shock or fire.
This step is crucial for both Class I and Class II equipment.

Step 5: Functional Testing
Once the safety checks are completed, the appliance is powered on to confirm it works correctly. This ensures that while the appliance is safe, it is also fit for purpose.
For example:
- A kettle must heat water.
- A fan must rotate smoothly.
- A computer must boot up without electrical interruptions.
Functional testing gives confidence that the appliance is not only safe but also reliable.
Step 6: Recording and Documentation
After testing, the results are recorded in a PAT testing log or report. This document usually includes:
- Appliance details (type, model, serial number)
- Date of test
- Test results (Pass or Fail)
- Name/signature of the tester
- Retest date recommendation
This record is important for compliance, especially for businesses and landlords who need to demonstrate safety measures during inspections or audits. To Know More Click Here
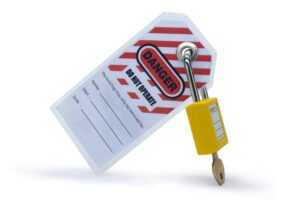
Step 7: Labelling the Appliance
Every tested appliance is labelled with a “Pass” or “Fail” sticker. The label typically shows:
- Pass/Fail status
- Date of test
- Next test due date
- Tester’s initials or ID
This provides instant information to anyone using the appliance. If an item fails, it should be removed from service until repaired or replaced.
Why PAT Testing Matters
- Prevents Accidents – Identifies hazards before they cause harm.
- Ensures Compliance – Helps businesses meet health and safety regulations.
- Reduces Liability – Protects employers and landlords from legal issues.
- Peace of Mind – Confirms appliances are safe for everyday use. To Know More Click Here
Conclusion
The PAT testing process is not just about ticking a compliance box—it’s about ensuring safety in homes, offices, and workplaces. By following the steps of visual inspection, classification, electrical testing, functional checks, and proper documentation, PAT testing significantly reduces the risk of electrical hazards.
Whether you’re a business owner, landlord, or facilities manager, scheduling regular PAT testing is a smart and responsible choice. It protects people, equipment, and property—making it an investment in safety and reliability.
SafeTag – Your Safety Partner in New Zealand
Ensure workplace safety and compliance with SafeTag’s professional testing services. We offer certified solutions for Electrical Testing & Tagging, RCD Testing, Microwave Leakage Testing, and Portable Appliance Testing (PAT). Trust our experts for hassle-free, on-site service tailored to your business needs.